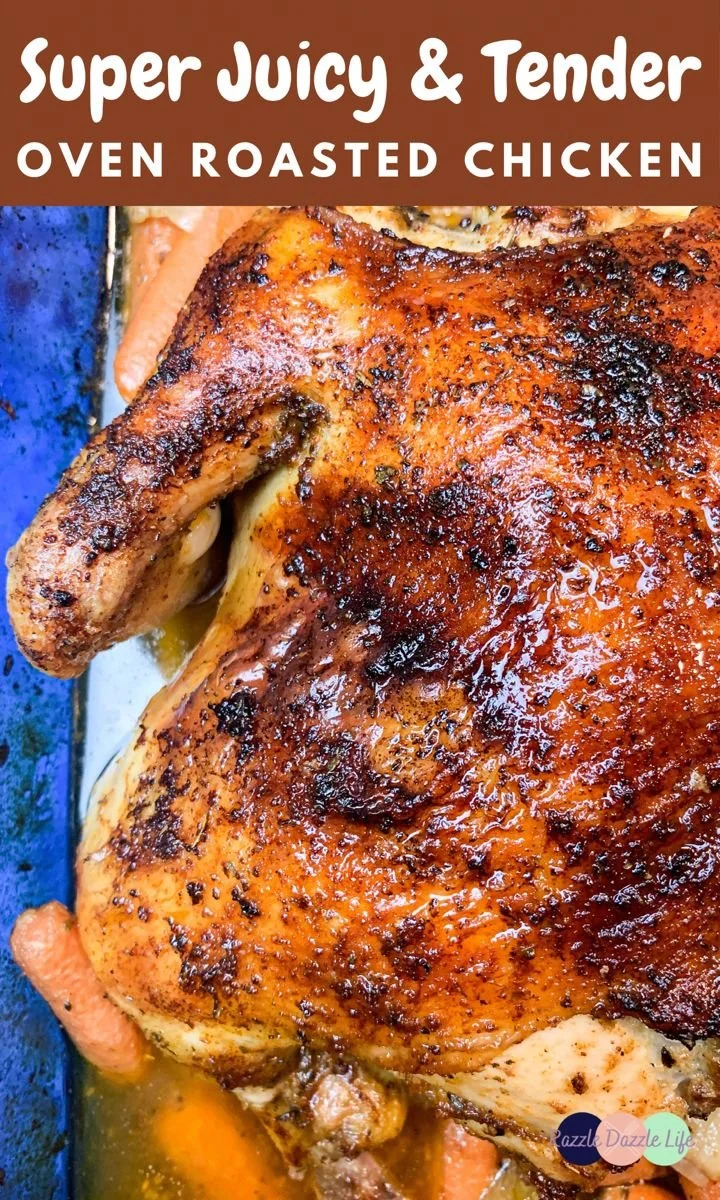
The Best Oven Baked Chicken Quarters is a simple yet flavorful way to prepare a comforting meal that’s sure to please the whole family. These chicken leg quarters come out crispy on the outside and juicy on the inside, making them a delightful choice for dinner. Plus, this recipe requires minimal prep and is easy enough for beginner cooks to master.
Why You’ll Love Oven Baked Chicken Quarters
- Easy Preparation: With a handful of ingredients and straightforward steps, this recipe is perfect for busy weeknights or when you want a no-fuss meal.
- Flavorful and Savory: The blend of Italian seasoning and spices gives the chicken a rich flavor, enhancing this dish without overwhelming your palate.
- Budget-Friendly: Chicken leg quarters are often more affordable than other cuts, making this a great choice for families looking to save on groceries.
- Versatile Meal Option: These chicken quarters can be served in numerous ways, including with sides, in salads, or even shredded on a sandwich or taco.
- Perfectly Cooked Every Time: With clear steps for doneness, you can ensure the chicken is just right—cooked through and tender without being dry.
Recipe Overview
- Prep Time: 10 minutes
- Cook Time: 35-45 minutes
- Total Time: 45-55 minutes
- Servings: 4
- Difficulty Level: Easy
Ingredients You’ll Need for Oven Baked Chicken Quarters
- Chicken: 4 chicken leg quarters
(Typically includes both the thigh and drumstick.) - Seasoning:
- 1.5 tablespoons Italian seasoning
- 1.5 teaspoons kosher salt (adjust to taste)
- 1 teaspoon onion powder
- 1 teaspoon garlic powder
- 1 teaspoon ground mustard
- 1/2 teaspoon paprika
- 1/2 teaspoon ground black pepper
- Oil: 1 tablespoon olive oil
(Helps crisp the skin and hold the seasoning.)

How to Make Oven Baked Chicken Quarters
-
Preheat the Oven: Start by preheating your oven to 425°F (220°C). This high temperature is crucial for achieving crispy skin.
-
Prepare the Baking Sheet: Line a baking sheet with aluminum foil to allow for easy cleanup. Place a wire rack on top if you have one, which helps the chicken cook evenly.
-
Make the Seasoning Rub: In a small bowl, combine the Italian seasoning, kosher salt, onion powder, garlic powder, ground mustard, paprika, and black pepper. Mix until well blended to create your seasoning rub.
-
Prepare the Chicken: Trim any excess skin or fat from the chicken quarters to avoid excessive grease. Pat them dry with paper towels to help the skin crisp up.
-
Apply Oil and Seasoning: Lightly brush both sides of the chicken quarters with olive oil. Generously apply the seasoning rub all over the chicken, pressing it into the skin for better flavor.
-
Bake the Chicken: Place the chicken on the prepared baking sheet with the skin side facing up. Bake in the preheated oven for 35 to 45 minutes. Use an instant-read thermometer to check for doneness; the internal temperature should reach 185°F.
-
Rest and Serve: Once cooked, remove the chicken from the oven and let it rest for 5-10 minutes before serving. This allows the juices to redistribute, ensuring a juicy bite every time.
Tips for Success
- Dry the Chicken: Drying the skin well before applying oil and seasoning is vital for achieving crispiness.
- Monitor Temperature: Using a meat thermometer is the most reliable way to ensure the chicken is fully cooked without being overdone.
- Don’t Skip the Resting: Allowing the chicken to rest after baking helps maximize juiciness; don’t rush this step.
- Experiment with Seasonings: Feel free to adjust the spices based on your preferences; chili powder, lemon zest, or fresh herbs can add a new twist.
- Use a Convection Oven: If you have one, using the convection setting can enhance browning and crispiness.
Easy Variations
- Lemon Herb Version: Add fresh lemon zest and chopped rosemary or thyme for a refreshing twist.
- Barbecue Style: Brush the chicken quarters with your favorite barbecue sauce during the last 10 minutes of baking for a sticky, sweet-glazed finish.
- Spicy Twist: Add cayenne pepper or red pepper flakes to the seasoning mix for a bit of heat.
- Vegetable Roaster: Roast your favorite vegetables alongside the chicken by adding them to the baking sheet, seasoned with olive oil and herbs, for a complete meal.
- Marinade Option: Marinate chicken quarters overnight in a mixture of olive oil, garlic, and herbs for a deeper flavor.
What to Serve with The Best Oven Baked Chicken Quarters
- Roasted Vegetables: Pair with roasted carrots, broccoli, or potatoes that complement the savory chicken.
- Mashed Potatoes: The creamy texture and buttery flavor of mashed potatoes are perfect for soaking up any juices from the chicken.
- Salad: A fresh garden or Caesar salad adds a refreshing contrast to the richness of the roasted chicken.
- Rice or Quinoa: Serve with seasoned rice or quinoa to provide a hearty base that balances the meal.
- Bread: Crusty bread or rolls are great for mopping up excess sauce or drippings.
Storage and Reheating
- Refrigerator Storage: Store leftover chicken in an airtight container in the fridge for up to 3-4 days.
- Freezer Storage: If you want to freeze, wrap the chicken tightly in plastic wrap before placing it in a freezer bag. It can last up to 3 months.
- Reheating: For best results, reheat the chicken in the oven at 350°F (175°C) until warmed through to avoid sogginess. Alternatively, you can use an air fryer for a crisp finish.
- Meal Prep Note: For easy weekday meals, consider prepping the chicken in advance, seasoning it, and storing it in the fridge to bake later.
Common Mistakes to Avoid
- Not Drying the Chicken: Failing to dry the chicken can result in soggy skin instead of crispy texture.
- Overcrowding the Pan: If you place the chicken too close together, it won’t cook evenly. Use a larger pan if necessary.
- Skipping the Resting Period: Cutting into the chicken too soon can lead to a loss of juices. Make sure to let it rest.
- Ignoring Cooking Times: Cooking times can vary based on oven settings and chicken size; always check the internal temperature.
- Using Too Much Salt: Since kosher salt is less salty than table salt, be cautious if adjusting salt levels to avoid oversalting.
Oven Baked Chicken Quarters: Background & Cultural Inspiration
Oven-baked chicken quarters draw inspiration from traditional roasting methods showcased in various cuisines worldwide. Roasting chicken has been a staple for generations, providing not just nourishment but also a way to bring families together around the table. This accessible cooking method truly highlights the versatility of chicken, adapting to numerous flavor profiles and seasonings across cultures.
Frequently Asked Questions
Can I use other cuts of chicken?
Yes, you can adapt this recipe to use chicken thighs, drumsticks, or even whole chickens, keeping in mind that cooking times may vary.
Can I prepare the chicken ahead of time?
Absolutely! You can season the chicken up to 24 hours in advance and leave it in the refrigerator until you’re ready to bake.
How can I make this dish healthier?
You can reduce the amount of oil used and add more herbs and spices for flavor without the added calories. Pair it with plenty of fresh vegetables to balance the meal.
What’s the best way to check if my chicken is cooked through?
Using an instant-read thermometer is the most reliable method. For chicken, the safe internal temperature is 165°F, but for leg quarters, aiming for 185°F ensures tenderness.
Can I freeze leftovers?
Yes, leftover baked chicken quarters can be frozen for future meals. Just make sure to wrap them tightly to prevent freezer burn.
Final Thoughts
Oven Baked Chicken Quarters are a fantastic option for family dinners, offering a delightful mix of simplicity and flavor. With just a few steps and ingredients, you can create a meal that’s sure to satisfy even the pickiest eaters. Whether you serve them with classic sides or get creative with pairings, this recipe is definitely worth a try. Enjoy the delicious aroma filling your kitchen as you whip up this comforting dish!